Final
EYW Final Project
View on GitHub
Home
Photos
Videos
Code/Circuit
Our Code Explained
Figures:
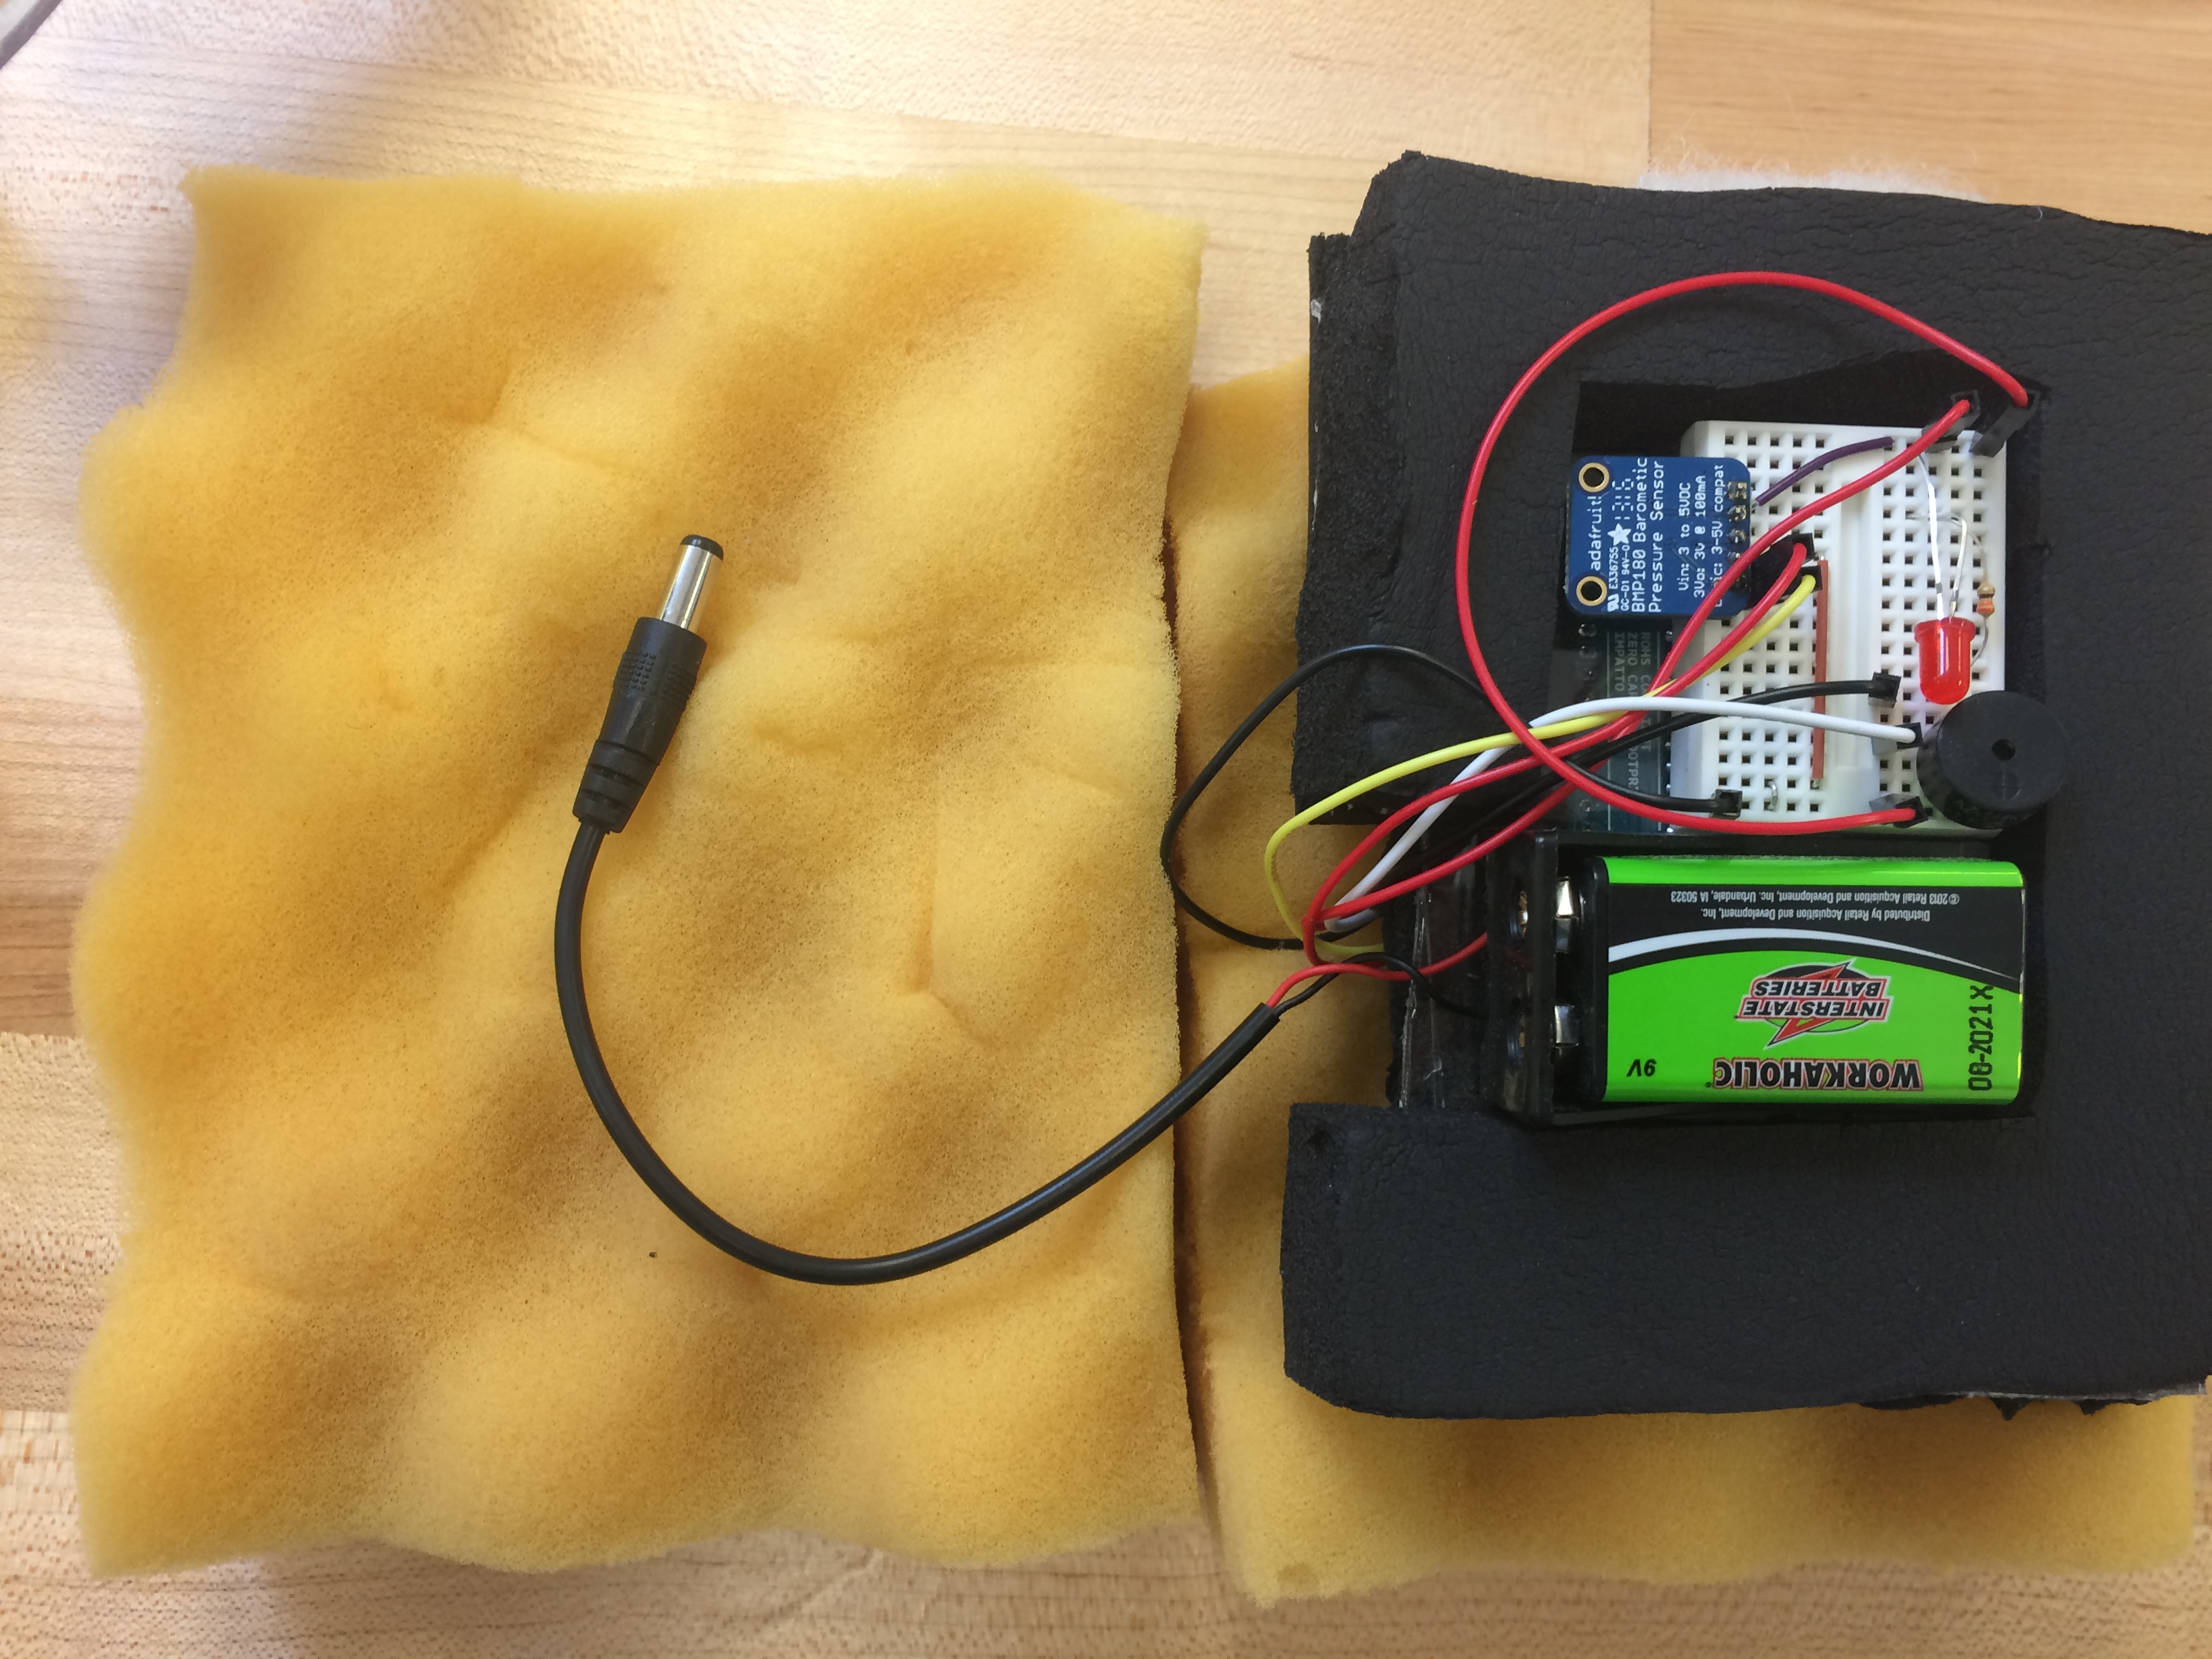
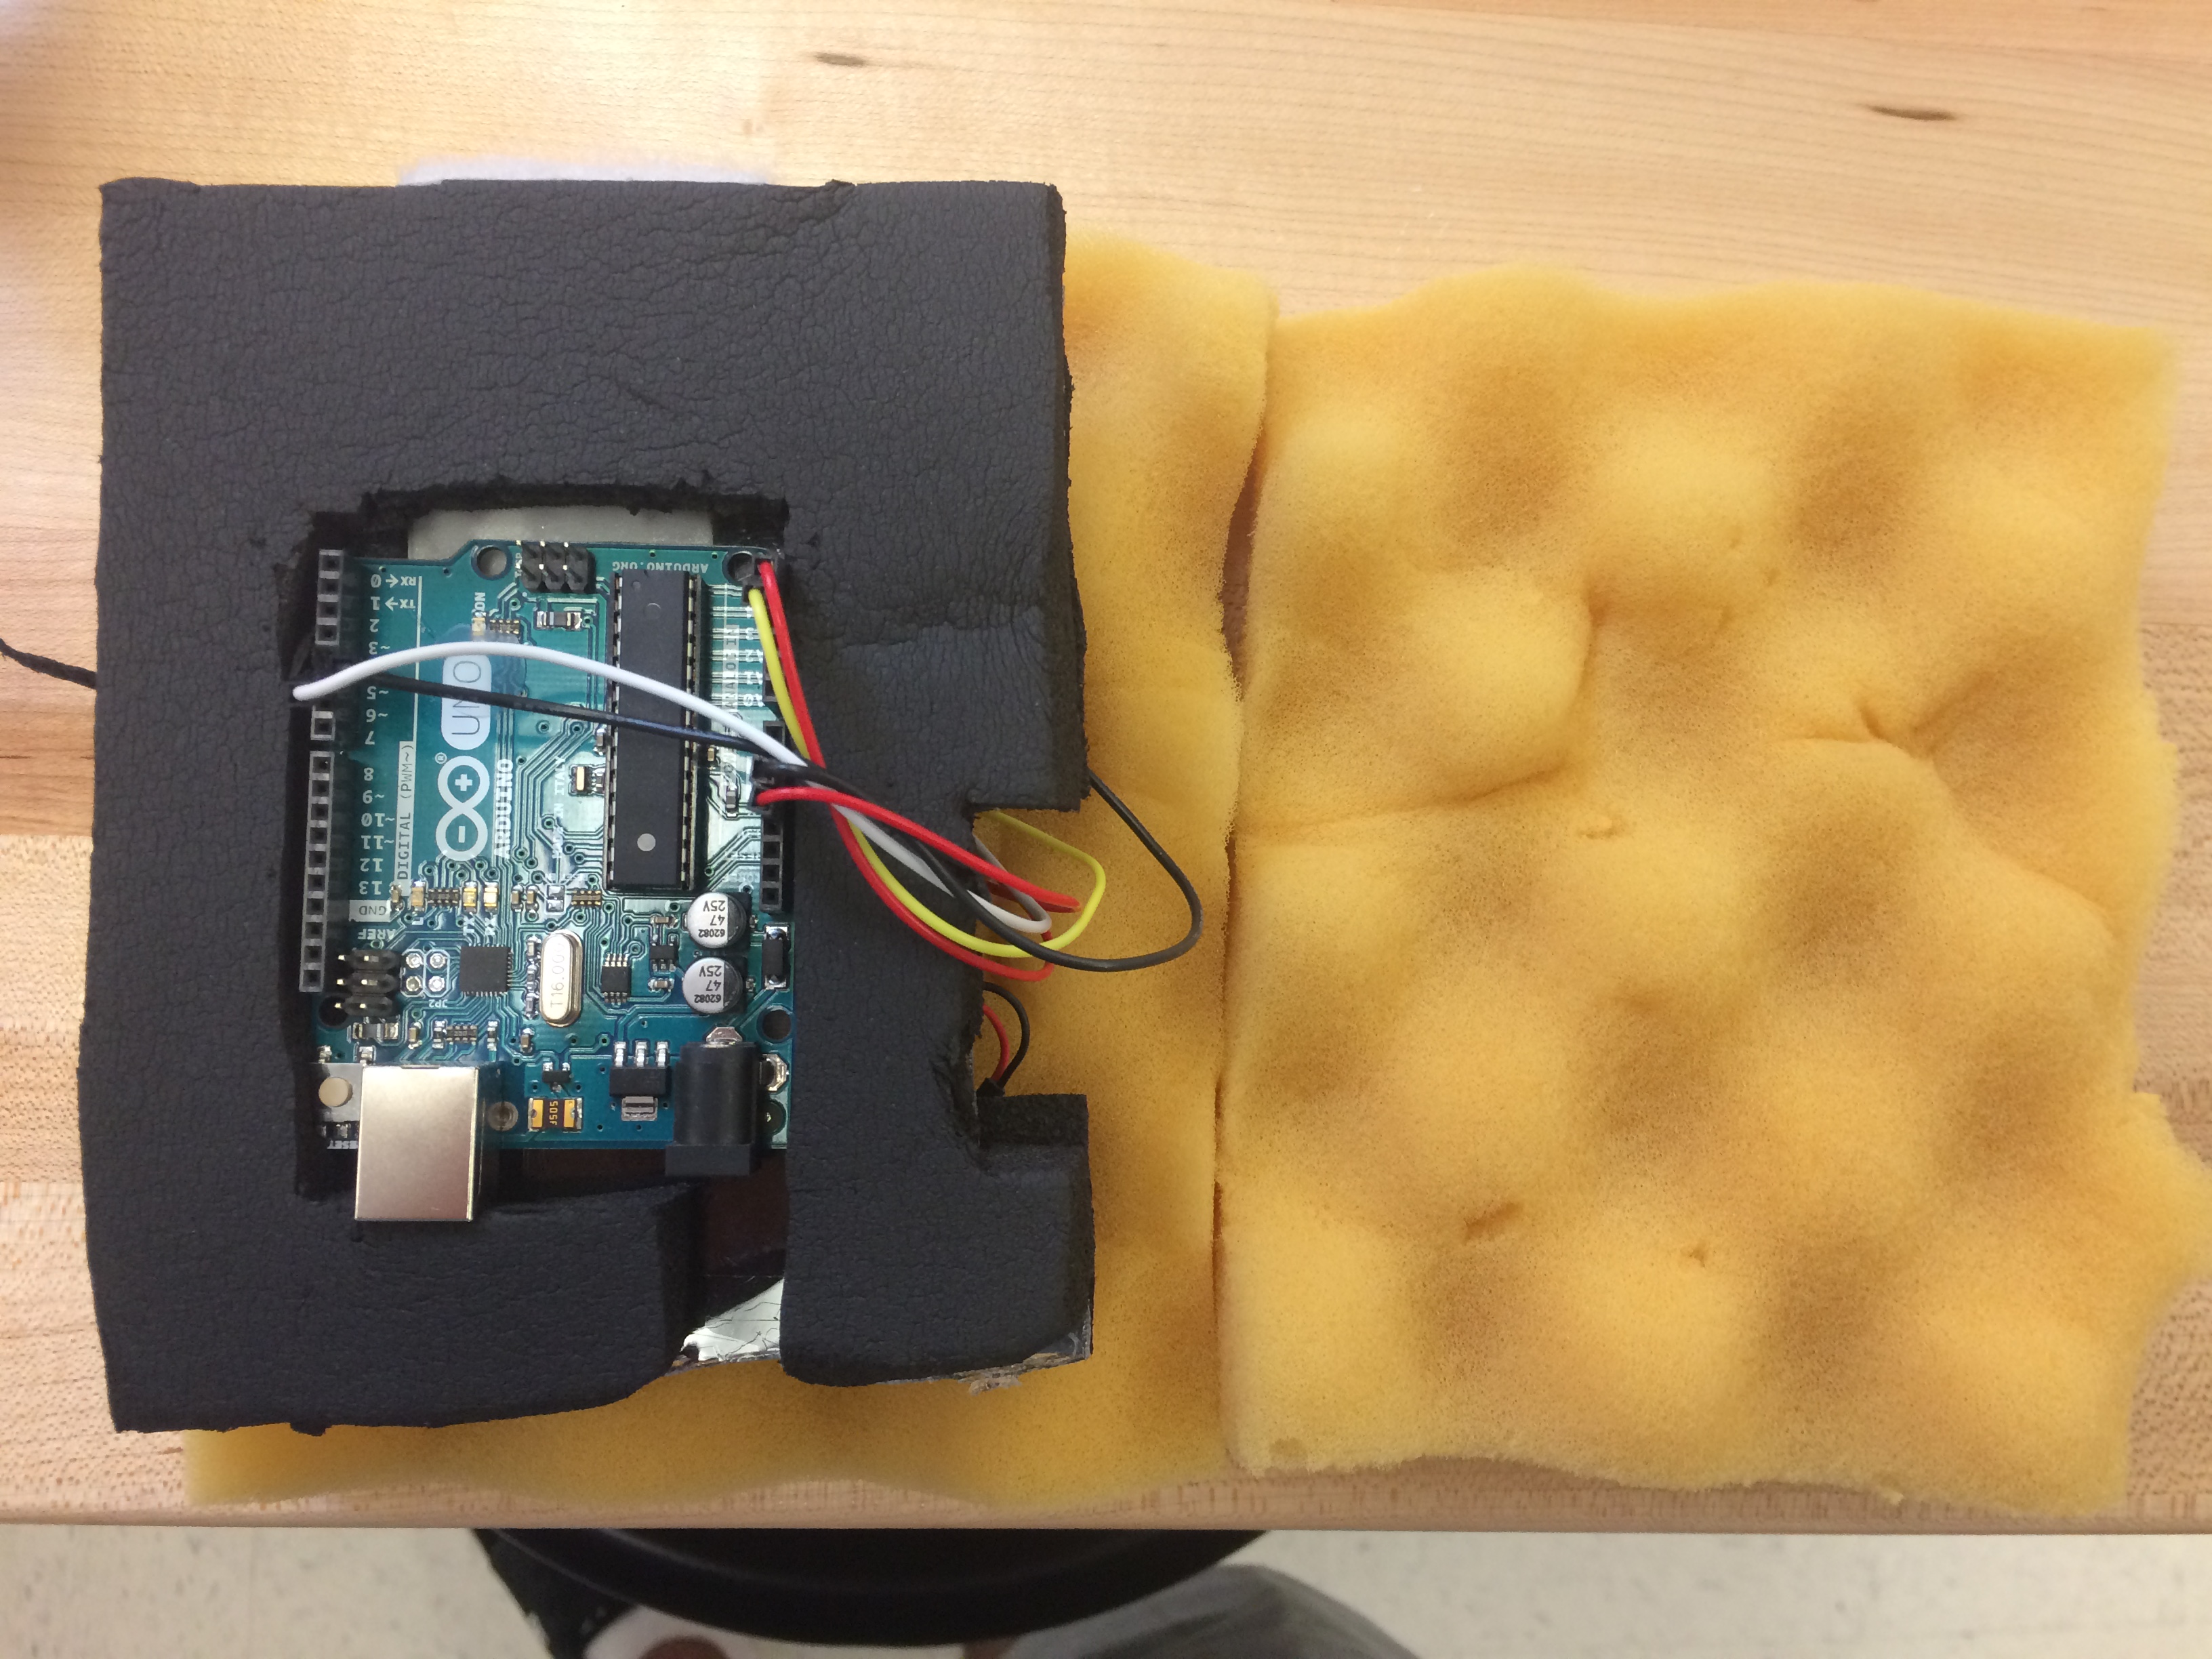
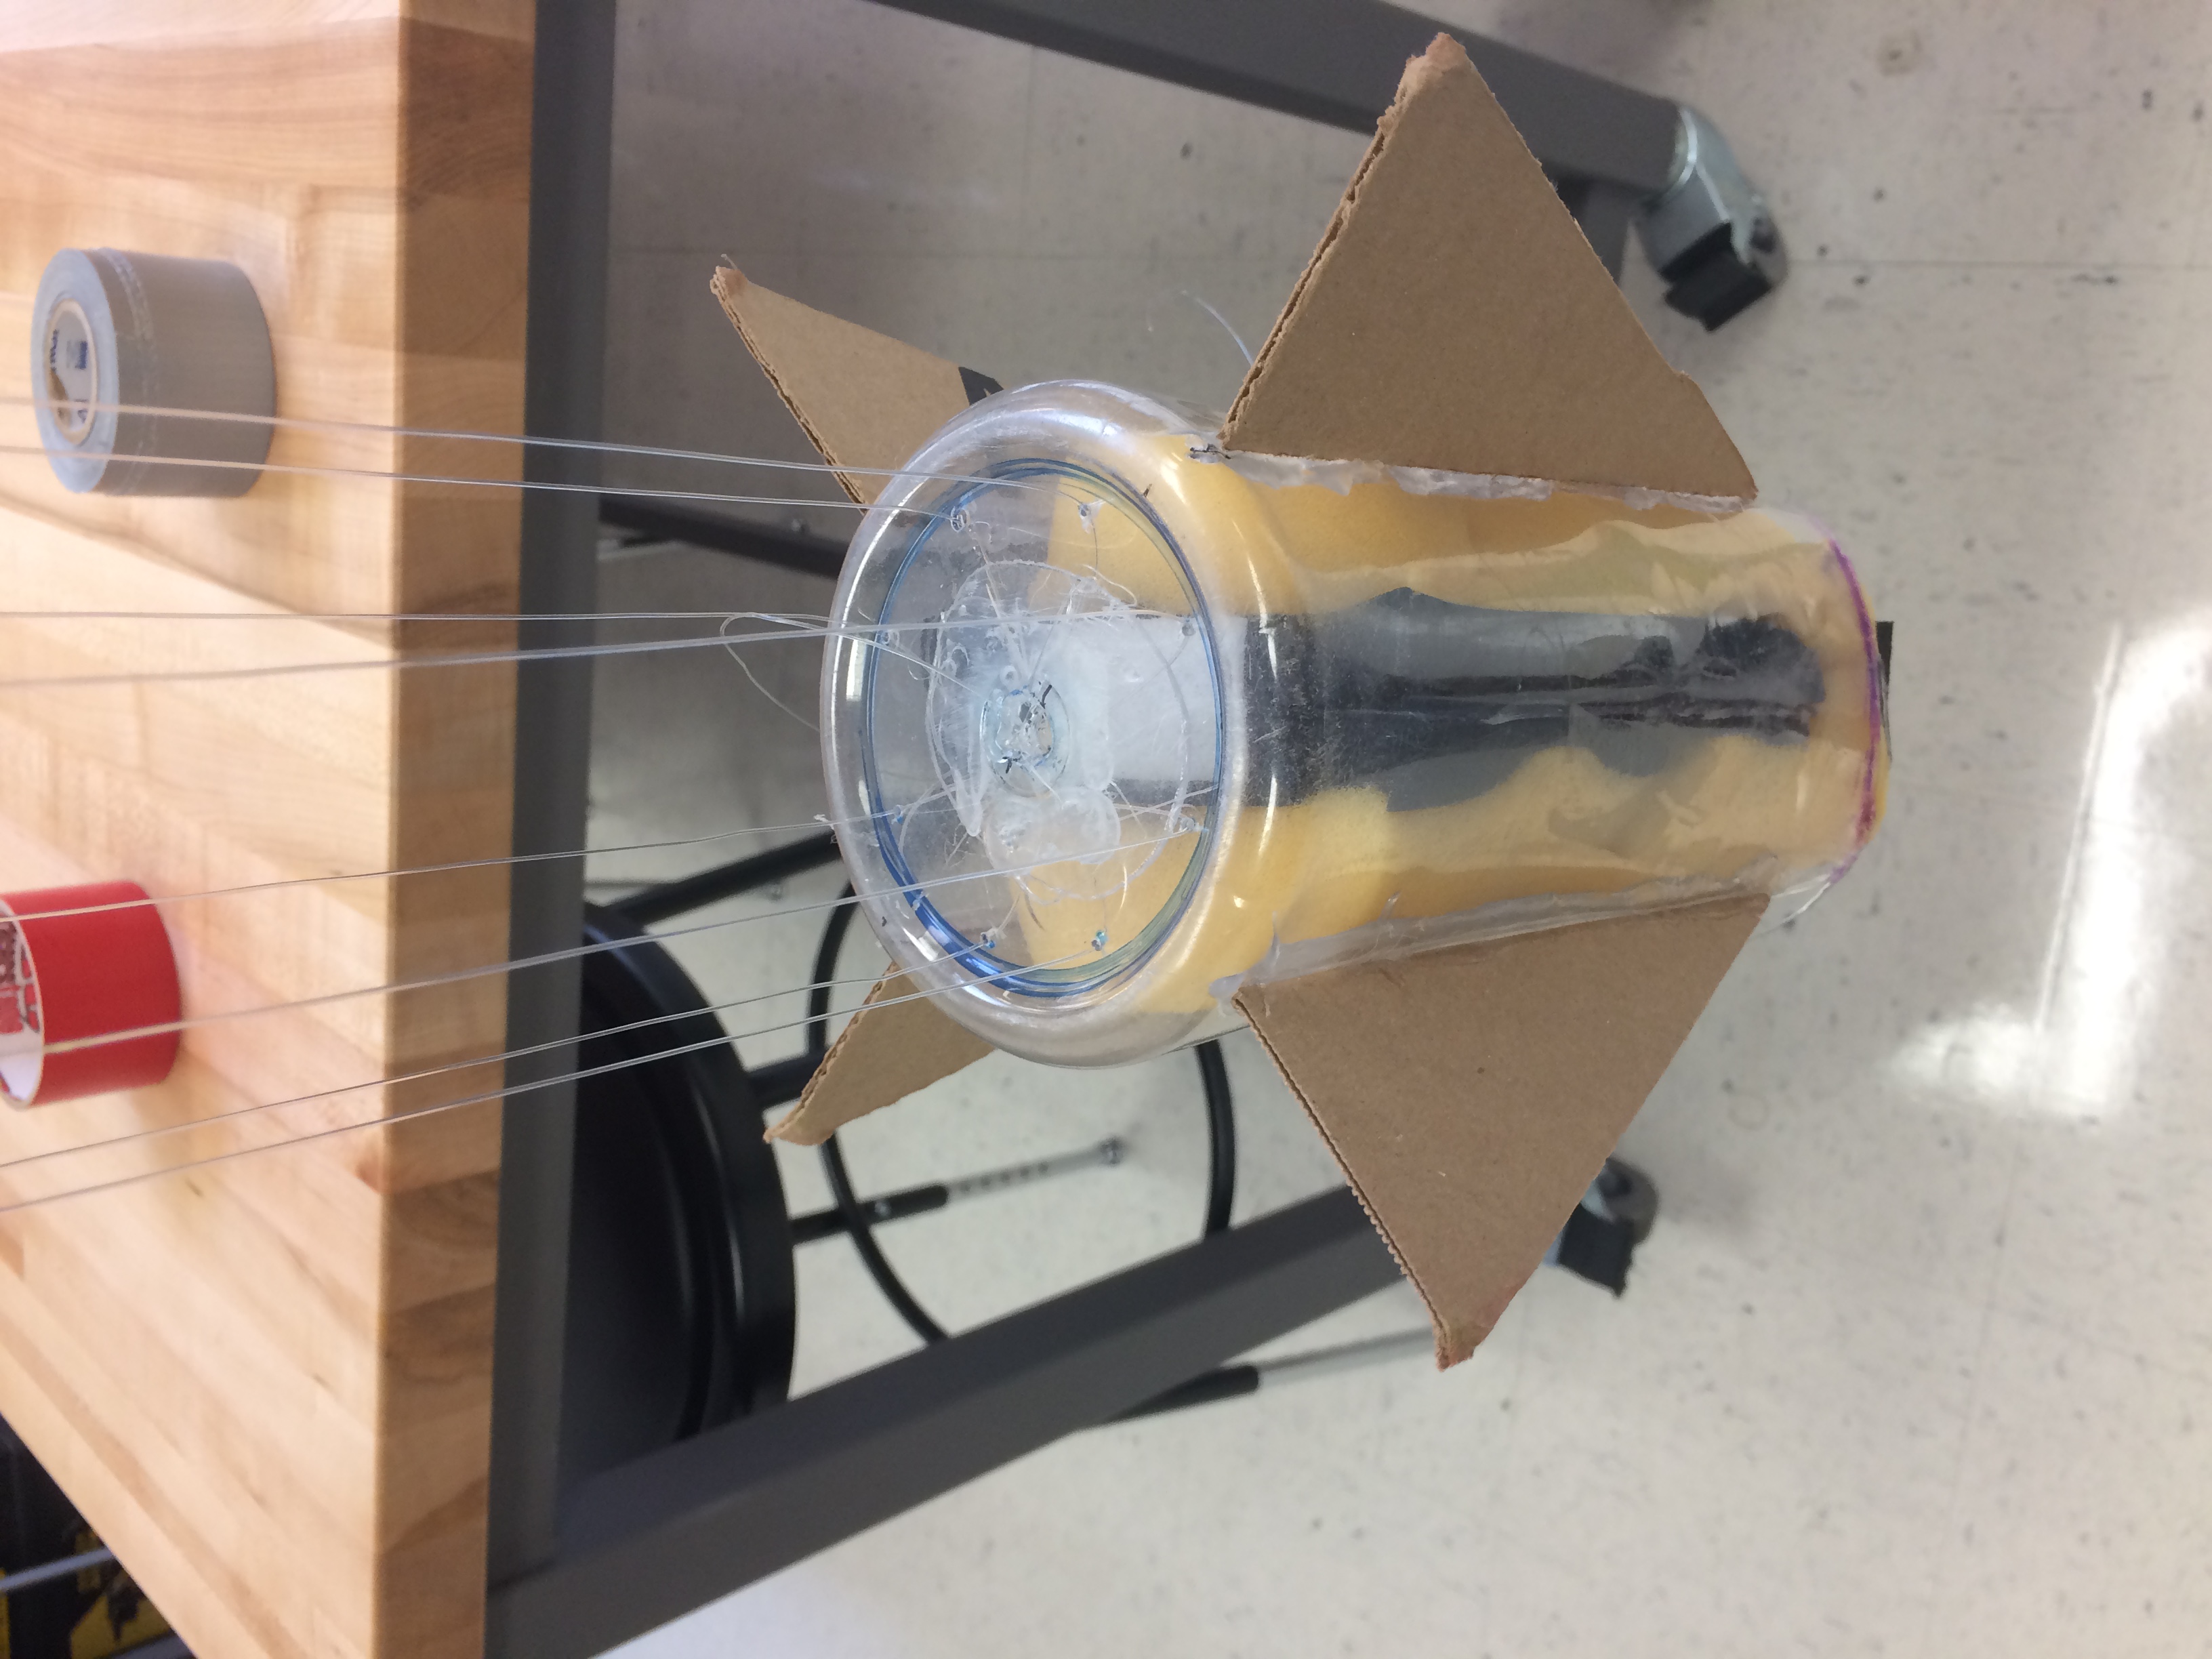
Payload
1
2
3
4
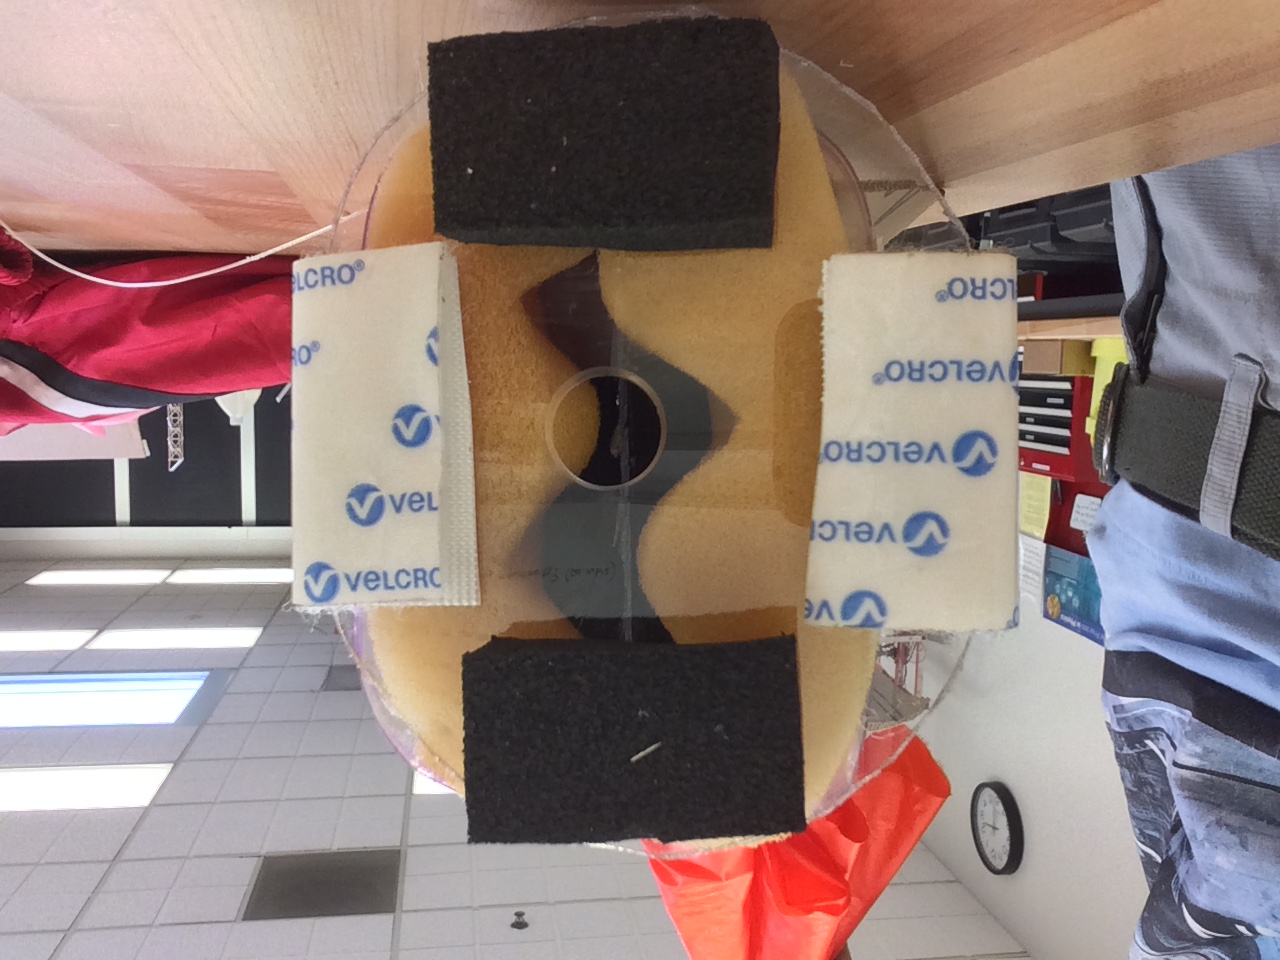
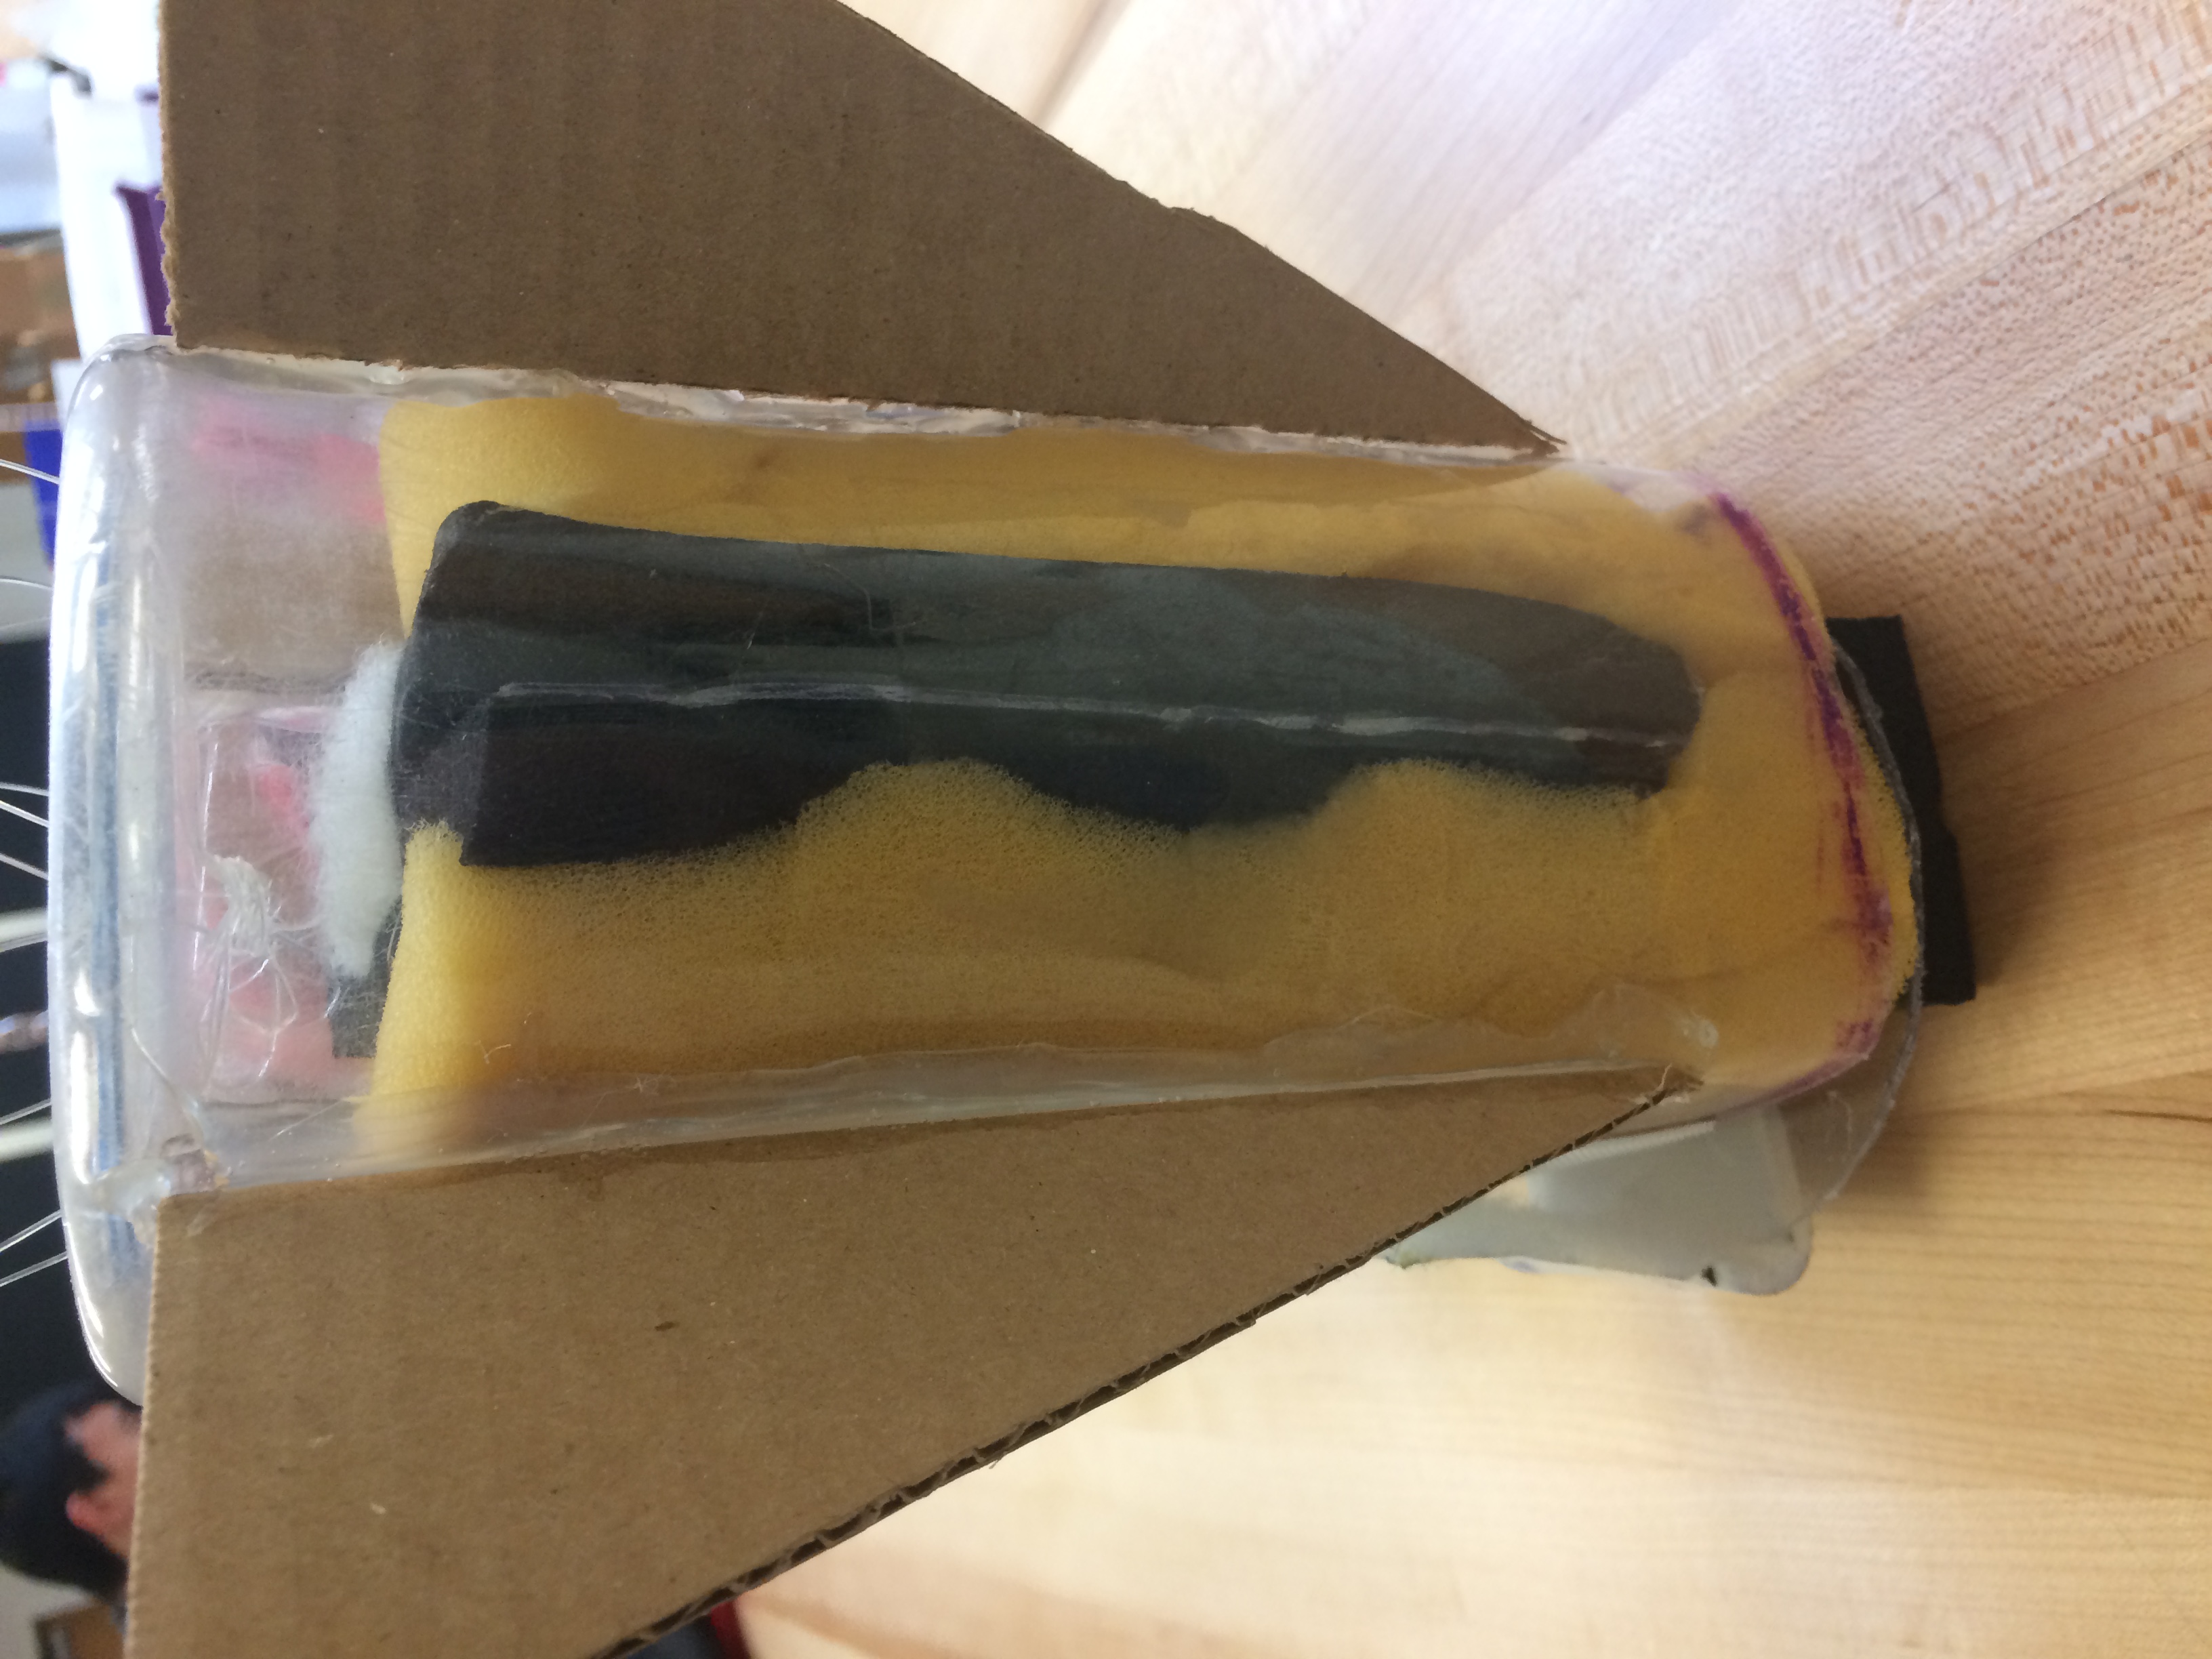
Structure
5
6
7
8
9
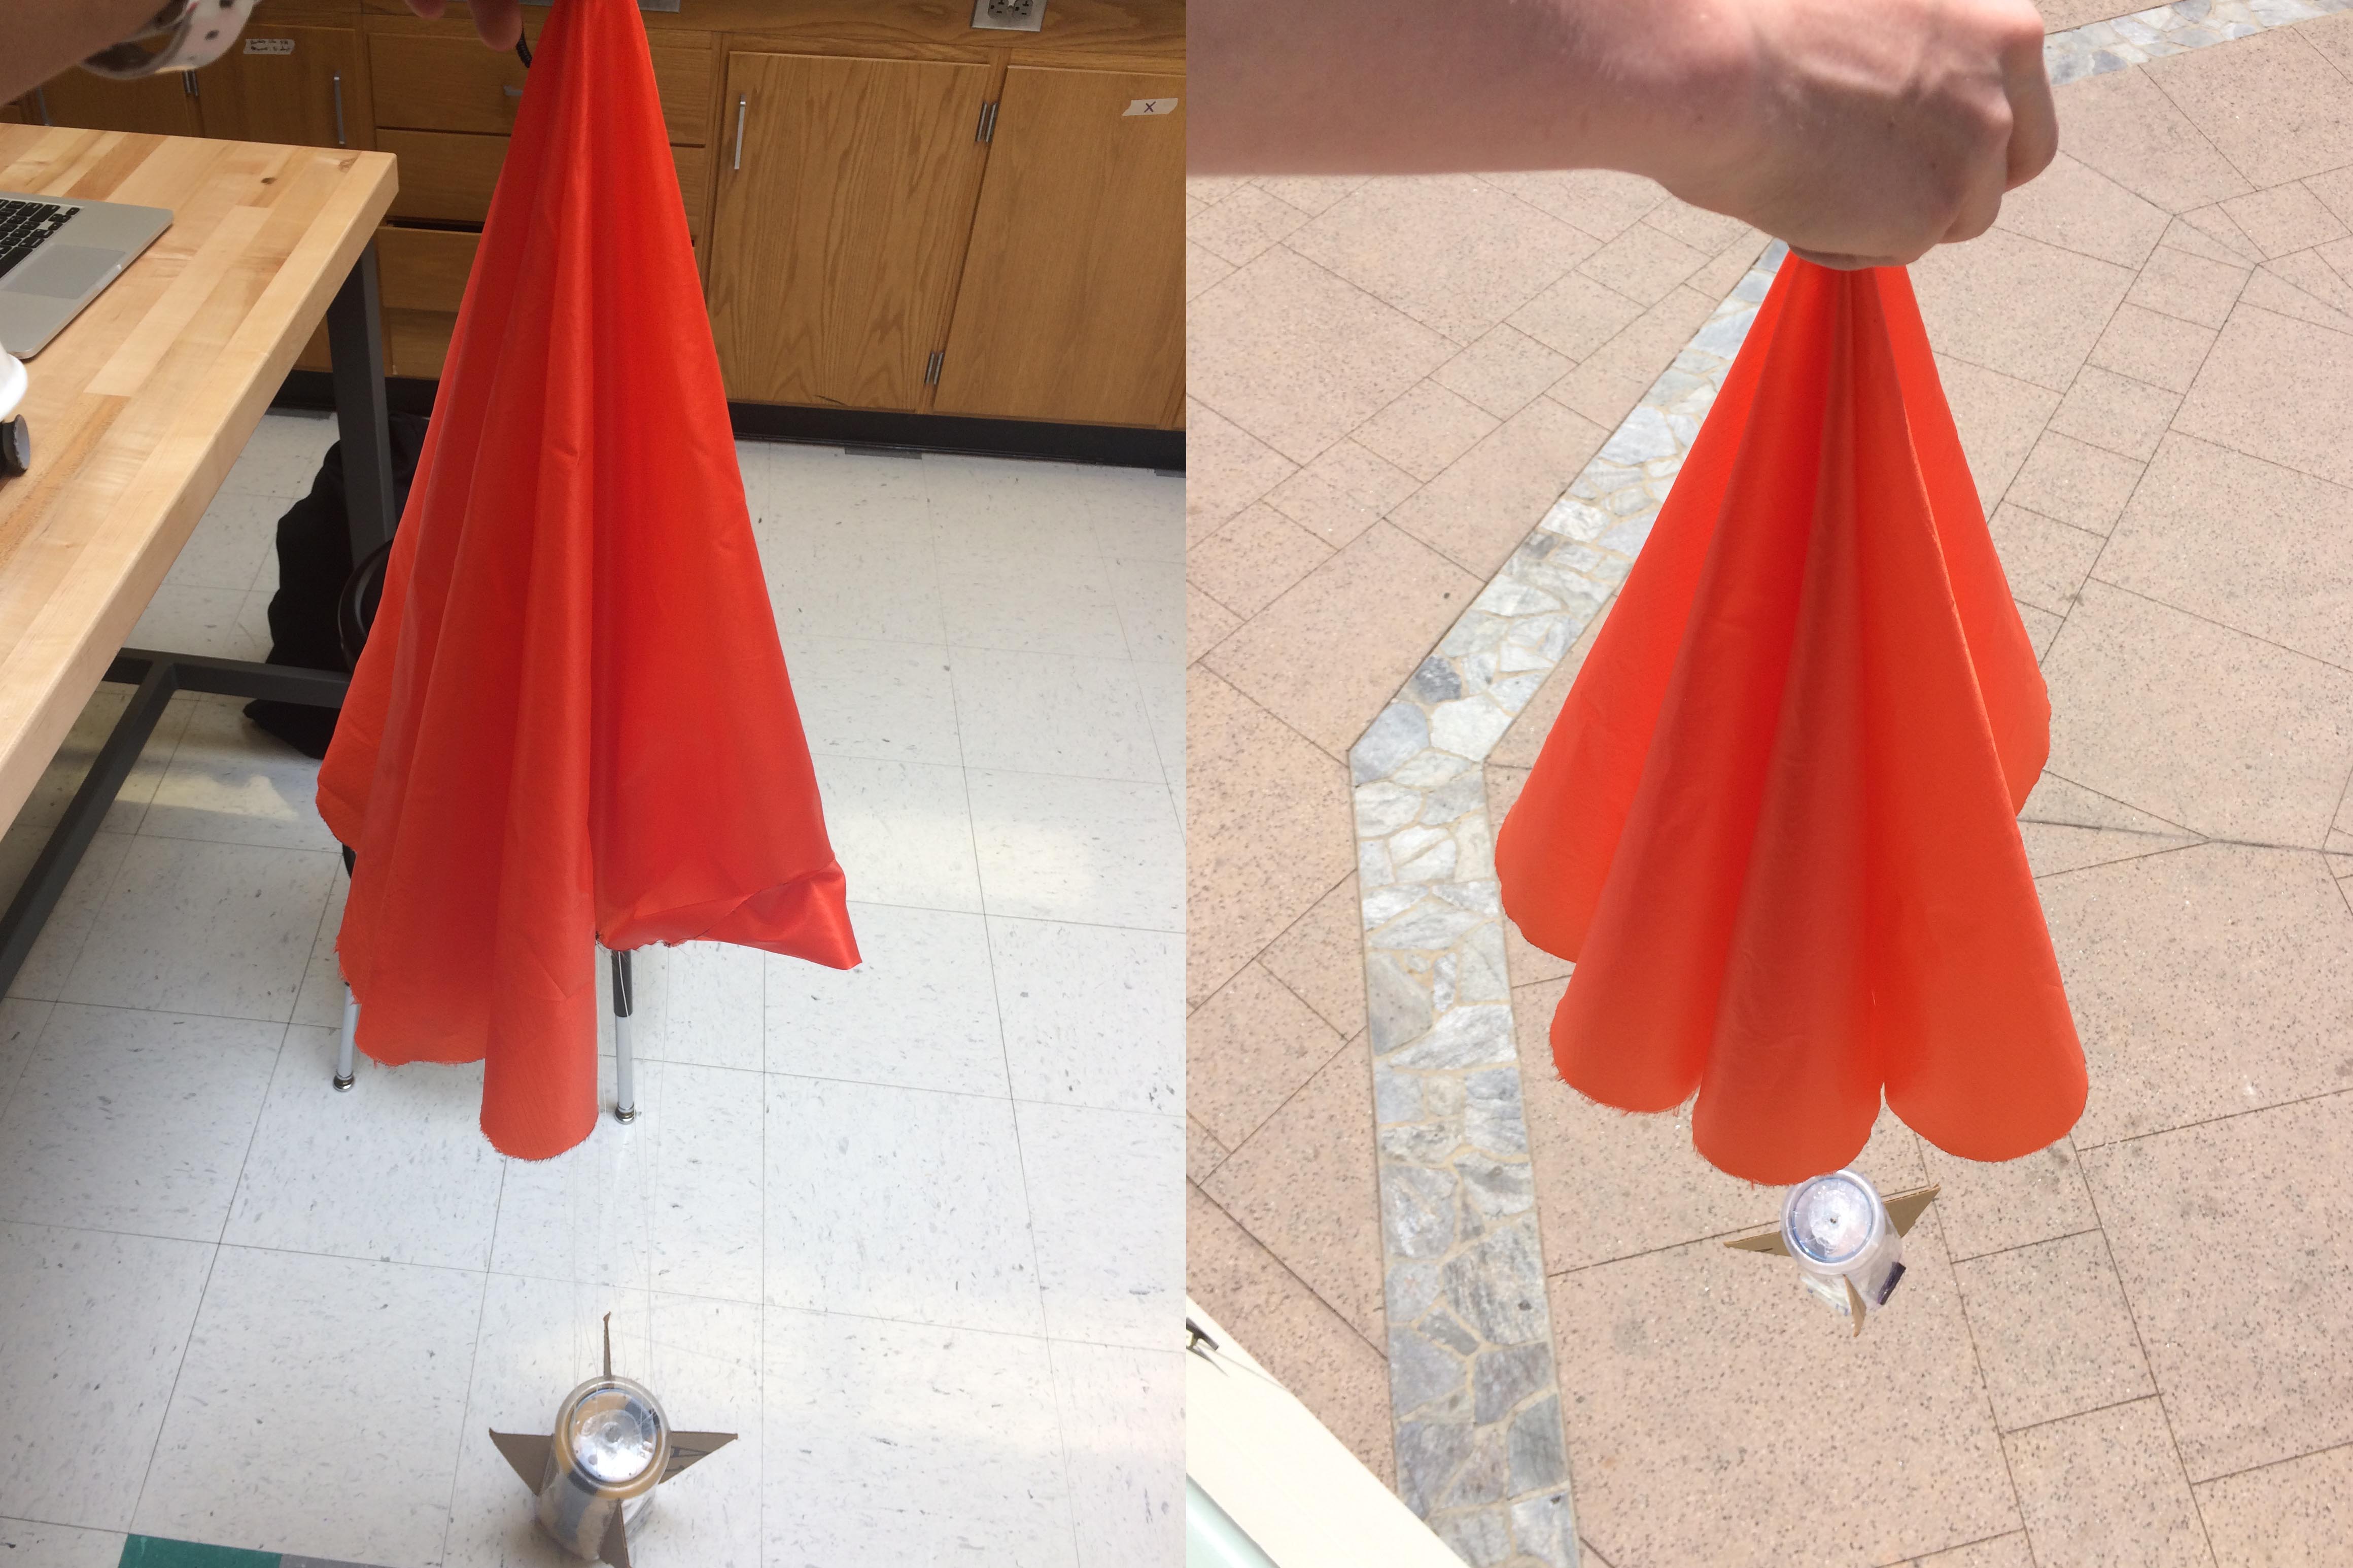
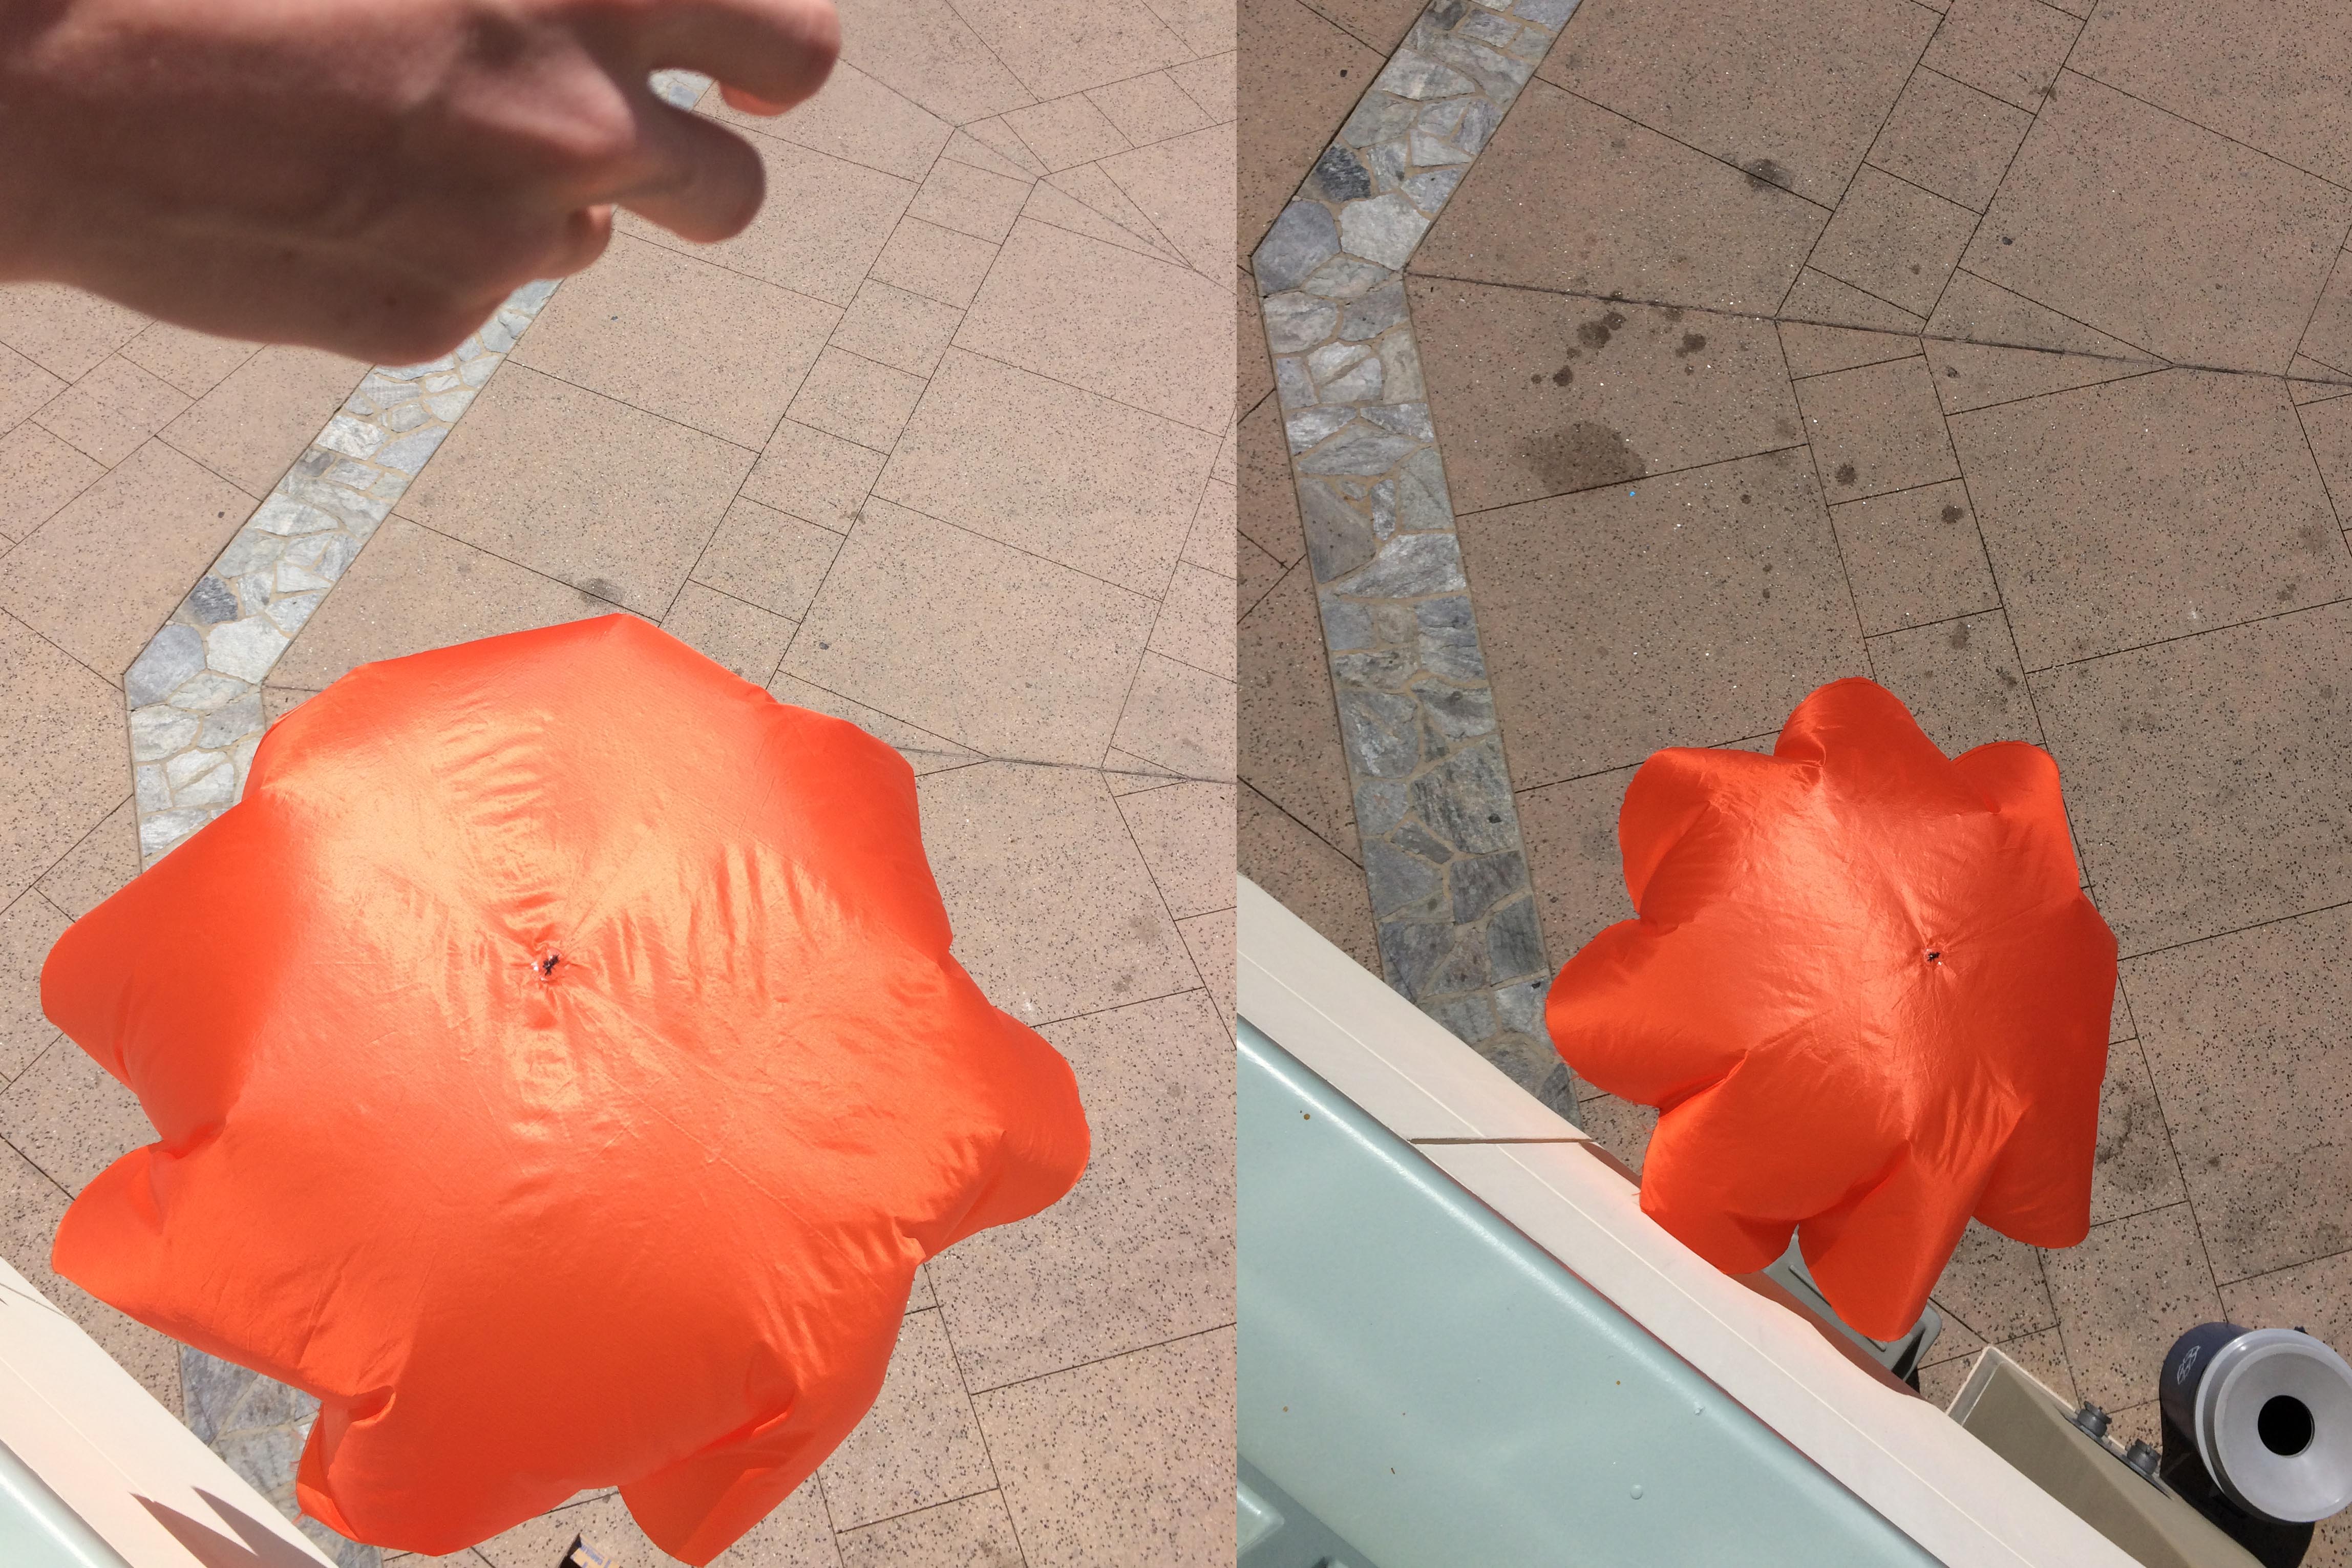
Descent
10
11